Using a clay bar is a highly effective way to remove contaminants from your car’s paint, leaving it smooth and ready for waxing or sealing. Here’s a detailed step-by-step guide to using a clay bar:
What You’ll Need:
- Clay bar:You can find various types of clay bars, such as medium or fine grade, depending on the level of contamination.
- Clay lubricant:This is essential for reducing friction and preventing the clay from damaging the paint. You can use a commercial clay lubricant or mix your own with water and a few drops of car shampoo.
- Microfiber towels:For wiping down the surface after claying.
- Bucket of water (optional):To keep the clay bar clean and moist as you work.
Step-by-Step Process:
1. Prepare the Car
- Wash the car thoroughlyusing a car-specific shampoo to remove loose dirt and grime. This ensures you don’t rub any debris into the paint while claying.
- Dry the car using a microfiber towel or a drying towel. The surface should be clean and dry before claying.
2. Prepare the Clay Bar
- Break off a small piece of the clay bar, about the size of a small walnut.
- Flatten the piece of clay between your hands to form a disc shape.
- Knead the clay in your hands until it softens and becomes pliable. You may need to knead it every few panels to ensure it stays flexible.
3. Apply Lubricant
- Spray the clay lubricant generously onto a small section of the car’s surface, typically a 2x2 foot area. The surface needs to be well-lubricated to allow the clay to glide smoothly.
- Avoid using too much lubricant in one go, as excess liquid can cause streaks, but you want enough to keep the surface slick.
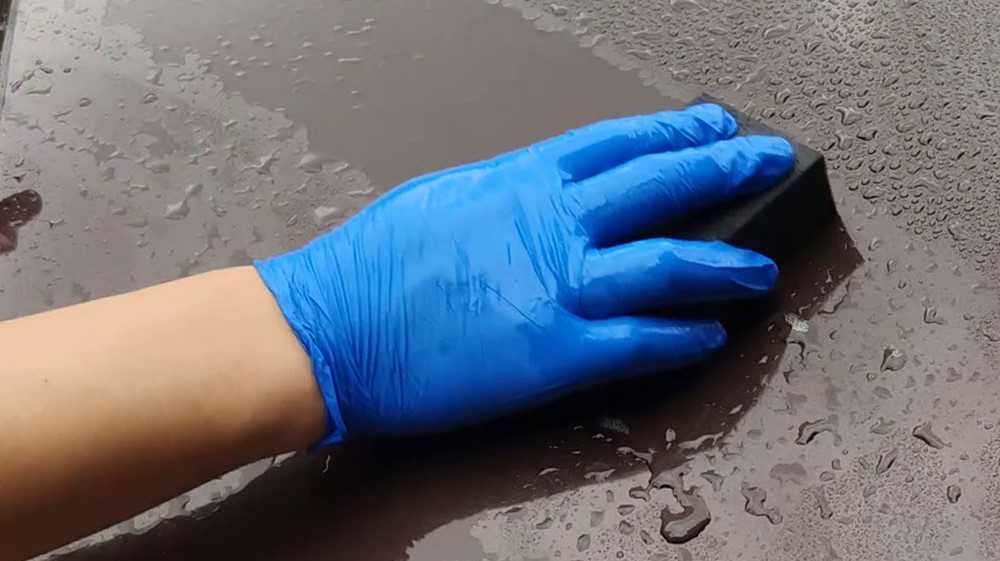
4. Clay the Surface
- Gently press the clay bar against the lubricated surface. Using a back-and-forth or up-and-down motion, rub the clay lightly over the area.
- The clay will grab at contaminants initially, and you may feel some resistance, but it should glide smoothly as you work.
- Check the clay every so often by kneading it and folding it to expose a clean side. If you notice the clay gets dirty, fold it over or break off a clean piece to continue.
5. Feel for Smoothness
- After claying a section, wipe it down with a clean microfiber towel to remove excess lubricant.
- Rub your hand over the treated area to check for smoothness. If it still feels rough or bumpy, go over it again with the clay bar. When the paint feels silky smooth to the touch, you’ve successfully removed the contaminants.
6. Move to the Next Section
- Repeat the process section by section. Work in small areas to ensure you don’t miss any spots and to keep the surface well-lubricated.
- Always knead the clay between sections to avoid rubbing contaminants back into the paint.
7. Final Wipe-Down
- Once you’ve clayed the entire car, give it a final wipe-down with a clean microfiber towel to remove any leftover lubricant.
- You may notice that the paint appears cleaner, more reflective, and has a glass-like feel.
8. Follow Up
- After claying, your car’s paint should feel incredibly smooth, but it will also be unprotected. Apply a wax, sealant, or ceramic coating to protect the surface and enhance the finish.
- Polishing can be done after claying if you want to remove any minor imperfections or swirl marks.
Tips and Best Practices:
- Always work in small sections, especially on larger cars, so the lubricant doesn’t dry before you finish claying.
- Never drop the clay bar. If it hits the ground, discard it or cut off the contaminated part before continuing. Dirt or debris in the clay can scratch the paint.
- Keep the clay moist, but not soaking wet, to maintain proper lubrication.
- If you’re working in direct sunlight, try to work on one panel at a time, as the lubricant can dry out quickly in the heat.
When Should You Use a Clay Bar?
- Use a clay bar if your paint feels rough after washing or if you notice contaminants like industrial fallout, tree sap, or rail dust.
- It’s usually recommended to clay your car once or twice a yeardepending on environmental factors (e.g., if you live in an area with heavy pollution or near the ocean, you might need to do it more frequently).
By following these steps, you’ll achieve a clean, smooth surface that will enhance the effectiveness of waxes and sealants, as well as improve the overall appearance of your car.


