Detailing the exterior of your car at home involves several steps that will help restore its shine, protect the paint, and keep it looking great. Here’s a detailed step-by-step guide for how to detail your car’s exterior:
1. Prepare Your Tools and Products
- Car shampoo(pH-balanced, safe for ceramic coatings if applicable)
- Buckets(two-bucket method for washing)
- Wash mitts(microfiber or lamb’s wool)
- Microfiber towels(for drying and buffing)
- Wheel cleaner(safe for your wheels)
- Tire cleaner and tire shine(if desired)
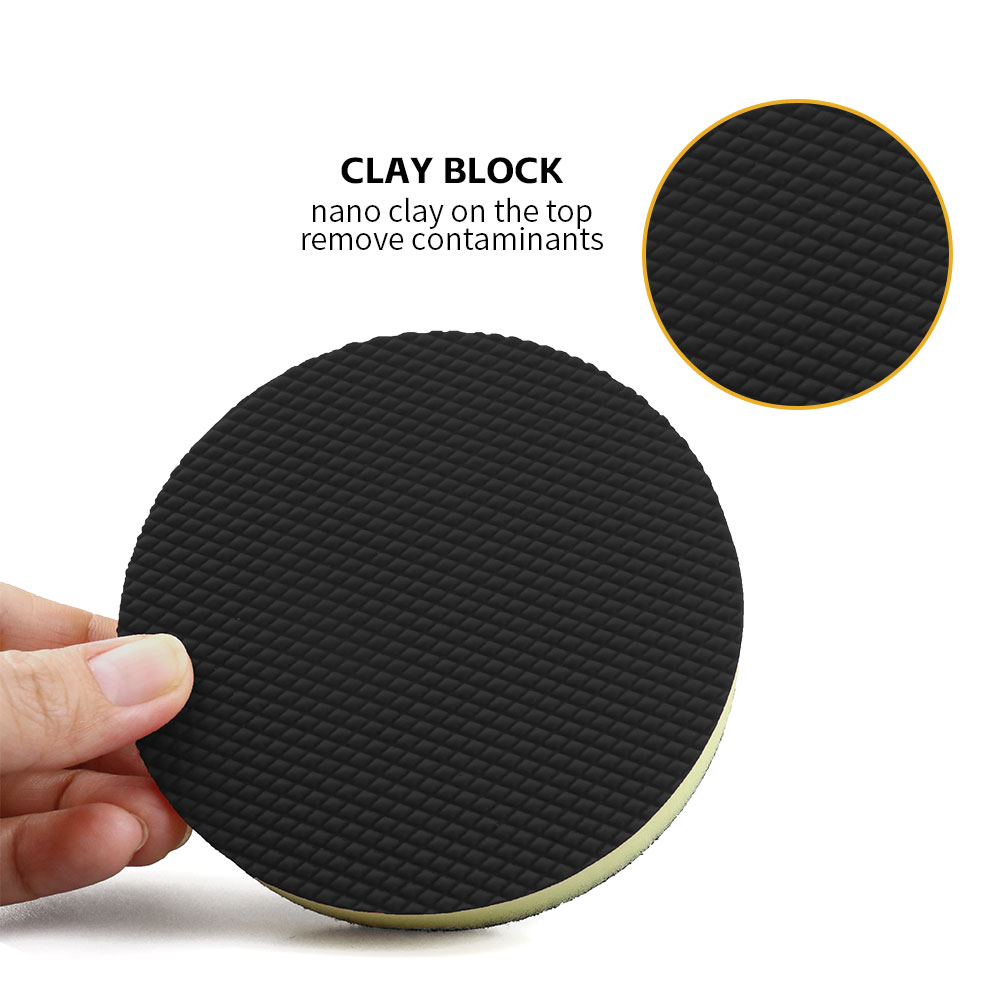
- Clay bar kit(clay bar and lubricant)
- Polish or compound(if correcting paint)
- Wax or sealant(for protection)
- Pressure washer or hose(with adjustable nozzle)
- Wheel brushes(different sizes)
- Trim dressing(for plastic, rubber, or trim pieces)
2. Pre-Wash (Rinse Off the Heavy Dirt)
- Start by rinsing your car thoroughly with a hose or pressure washer to remove any loose dirt, debris, or contaminants. This step helps prevent scratching when you start washing.
- If you have a foam cannon, this is the ideal time to use it. Foam the entire car to help break down dirt and make washing easier.
3. Wash the Wheels and Tires
- Wheel cleaner: Spray the wheels with a dedicated wheel cleaner, making sure to cover the entire surface of the wheels and tires. Let the cleaner sit for a few minutes to break down grime.
- Brushes: Use a soft wheel brush or a microfiber mitt to agitate the cleaner. For tight spots, use a smaller detailing brush.
- Tires: Clean the tires with a tire cleaner and a stiff brush to remove embedded dirt. You can also apply a tire shine product at the end for a glossy finish if desired.
- Rinse: After cleaning the wheels and tires, rinse them thoroughly.
4. Two-Bucket Wash Method
- Fill two buckets: One with soapy water (using car shampoo) and the other with just clean water for rinsing your mitt after each pass.
- Wash mitt: Use a clean microfiber wash mitt to wash the car, starting from the top down. Always work from the top of the car down to avoid dragging dirt across lower areas and scratching the paint.
- Rinse the mitt: After washing a section of the car, rinse the mitt in the clean water bucket before dipping it back in the soapy water. This prevents contamination of the wash solution.
- Repeat: Continue this process for each panel until the car is completely washed.
5. Rinse and Dry
- After washing, rinse the car thoroughly to remove all soap residue.
- Drying: Use microfiber towels, a drying towel, or a car dryer (if you have one) to dry the car. Pat the surface to absorb the water rather than wiping to minimize the risk of swirl marks.
6. Clay Bar Treatment (Optional but Recommended)
- After drying, the paint may still feel rough due to embedded contaminants like tar, sap, or industrial fallout.
- Clay bar: Lubricate the paint with a clay lubricant or quick detailer and gently rub the clay bar in a back-and-forth motion over the surface. You’ll feel the clay "grab" as it picks up contaminants.
- Rinse and dry: After claying, rinse the car again and dry it with a microfiber towel.
7. Polishing or Paint Correction (Optional)
- If your car has swirl marks, light scratches, or oxidation, you may want to polish the paint using a dual-action polisher and the appropriate cutting/polishing compound. This is an optional step but can significantly improve the appearance of the paint.
- Polishing pads: Use different pads for cutting, polishing, or finishing to correct imperfections without damaging the paint.
8. Apply Protection (Wax or Sealant)
- Wax: Apply a layer of car wax to protect the paint. Waxes add depth and gloss to the paint, but their protection may not last as long as synthetic sealants.
- Sealant: If you’re looking for longer-lasting protection (3-6 months), a paint sealant or ceramic coating is ideal. Apply it according to the manufacturer’s instructions. Sealants provide a slick, hydrophobic surface that makes water bead up and helps protect from dirt and contaminants.
- Buffing: After applying, let the wax or sealant cure for a few minutes (or as per the product instructions), and then buff off any excess with a clean microfiber towel.
9. Detail the Trim, Windows, and Other Areas
- Trim: Apply a trim dressing or plastic restorer to restore the appearance of black trim, rubber seals, and plastic moldings.
- Windows: Clean the windows using a streak-free glass cleaner. Clean both the inside and outside for a crystal-clear finish.
- Lights: Clean headlights and taillights with a plastic cleaner or an all-purpose cleaner to ensure maximum light output.
- Door Jambs: Wipe down door jambs and any other hidden areas that tend to accumulate dirt.
10. Final Touches
- Inspect the car carefully for any missed spots, missed wax, or imperfections.
- Use a quick detailer spray to give the car a final wipe down, enhancing the shine and leaving a layer of protection.
11. Maintain the Shine
- Regular washing with a pH-neutral shampoo, using the two-bucket method, and applying a quick detailer or spray wax after each wash will help maintain the protection and shine for longer.
By following these steps, you’ll give your car a thorough detailing job that restores its appearance and protects the paint. Take your time, and always use high-quality products to ensure the best results.


