The Meguiar's® Smooth Surface™ Clay Kit is designed to help remove bonded contaminants from your vehicle's paint, making it smoother and ready for polishing or applying a ceramic coating. It typically includes a clay bar, a lubricant, and instructions.
It offers several ultimate benefits for car enthusiasts. It effectively removes embedded contaminants, such as dirt and grime, that regular washing can't tackle, leaving the paint surface smooth and ready for polishing or waxing. This clay kit helps enhance the shine of the vehicle's finish, improving the overall appearance. Additionally, it prepares the surface for better adhesion of wax and sealants, ensuring longer-lasting protection. Its user-friendly instructions and included detailing spray make it accessible for both beginners and seasoned detailers alike.
Here’s a step-by-step guide for using the Meguiar's® Smooth Surface™ Clay Kit:
Step 1: Preparation
1.Wash the Vehicle: Start by thoroughly washing your car with a quality car shampoo. This removes surface dirt and debris.2.Dry the Vehicle: Use a clean microfiber towel to dry the car completely. Ensure there’s no water left in crevices or on the paint.
Step 2: Set Up
1.Choose the Right Environment: Ideally, work in a shaded area to prevent the detailing spray from drying too quickly on the surface.2.Gather Supplies: Have your clay kit ready, including the clay bar and detailing spray.
Step 3: Application
1.Spray the Area: Mist the detailing spray generously over a small section of the paint (about 2’ x 2’ is a good size).2.Prepare the Clay: Take a piece of clay from the kit (about the size of a quarter) and knead it until it’s soft and pliable.
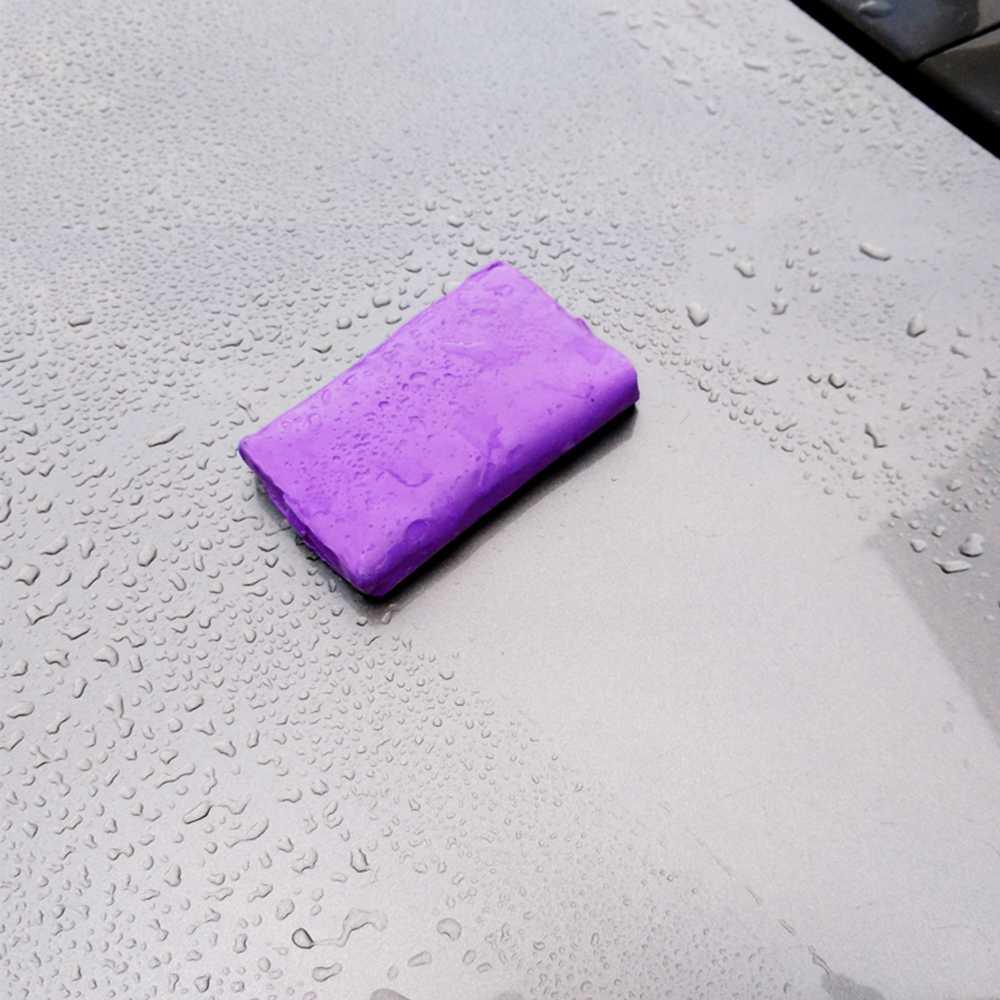 3.Claying Process:Glide the Clay: Gently glide the clay over the lubricated area. Use straight, back-and-forth motions, applying light pressure. Avoid circular motions to prevent marring the paint.Feel for Smoothness: As you work, you’ll feel the surface becoming smoother as contaminants are removed. If the clay starts to feel rough, fold it over to expose a clean section.
Step 4: Wipe and Inspect
1.Wipe Off Residue: After claying a section, use a clean microfiber towel to wipe away any remaining detailing spray.2.Inspect the Surface: Check the area by running your hand over it. It should feel smooth and free of imperfections.
Step 5: Repeat
1.Continue Claying: Move to the next section of the vehicle and repeat the spraying, claying, and wiping process until the entire car has been treated.2.Regularly Check the Clay: If the clay becomes dirty or discolored, knead it or fold it to expose a clean side.
Step 6: Final Steps
Finish with Protection: After claying, apply your favorite wax or sealant to protect the freshly cleaned surface. This enhances shine and provides long-lasting protection against contaminants.
Tips:
- Use in Small Sections: Working in smaller areas helps ensure you don’t miss spots and allows for better control.
- Don’t Overuse Clay: If the clay becomes too dirty, it’s best to discard it and use a fresh piece to avoid scratching the paint.
- Store Properly: Keep any leftover clay in a sealed bag to prevent it from drying out for future use.
By following these steps, you’ll achieve a smooth, contaminant-free surface, enhancing the look and protection of your vehicle's paint.


