Content Menu
How to Make a Car Shine
● Introduction
● Step 1: Pre-Wash Preparation
>>> 1.1 Clean the Area Around Your Vehicle
>>> 1.2 Gather the Right Tools and Products
● Step 2: Thorough Car Wash
>>> 2.1 Start with the Wheels
>>> 2.2 Washing the Car's Body
● Step 3: Drying the Car
>>> 3.1 Choose the Right Drying Tools
>>> 3.2 Drying Techniques
● Step 4: Paint Decontamination
>>> 4.1 Clay Bar Treatment
● Step 5: Polishing the Car
>>> 5.1 Why Polishing Matters
>>> 5.2 Choosing the Right Polish
● Step 6: Waxing for Protection and Shine
>>> 6.1 The Benefits of Wax
>>> 6.2 How to Apply Wax
● Step 7: Applying a Ceramic Coating (Optional)
>>> 7.1 What is a Ceramic Coating?
>>> 7.2 The Application Process
● Step 8: Final Touches and Inspection
>>> 8.1 Tire Shine
>>> 8.2 Glass Cleaning
>>> 8.3 Inspect for Imperfections
● Conclusion
● Related Questions & Answers
How to Make a Car Shine
Introduction
- Brief overview of car care and its importance
- Why making a car shine is not just about aesthetics but also protection
- The role of different products in car care (wax, polish, ceramic coatings)
Step 1: Pre-Wash Preparation
1.1 Clean the Area Around Your Vehicle
- Begin by ensuring the environment is safe and clean (garages or shaded areas are best).
- Remove any large debris (branches, leaves) from the car's surface to avoid scratching.
1.2 Gather the Right Tools and Products
- A high-quality car shampoo (preferably pH-balanced to avoid damage).
- A microfiber wash mitt to reduce the chances of scratching.
- A two-bucket method setup (one for soapy water and one for rinsing the mitt).
Tip: Using a car-specific shampoo is crucial for maintaining the paint’s integrity and enhancing the shine after washing.
Step 2: Thorough Car Wash
2.1 Start with the Wheels
- Spray wheels with a dedicated wheel cleaner, making sure to reach all corners.
- Use a wheel brush to scrub off brake dust and grime.
- Rinse thoroughly.
2.2 Washing the Car's Body
- Start from the top and work your way down. This helps avoid dragging dirt from the lower body onto the upper panels.
- Use a mitt to gently scrub the surface. Ensure you’re frequently rinsing the mitt to remove dirt.
Pro Tip: Use the two-bucket method to reduce the chances of introducing dirt back onto the car’s surface.
Step 3: Drying the Car
3.1 Choose the Right Drying Tools
- Microfiber towels are the best choice for drying, as they absorb moisture without scratching.
- A blower can be used to dry hard-to-reach areas like mirrors, grills, and window seals.
3.2 Drying Techniques
- Pat dry rather than rubbing to avoid introducing new scratches.
- Work in sections to prevent water spots from forming before you can fully dry the vehicle.
Step 4: Paint Decontamination
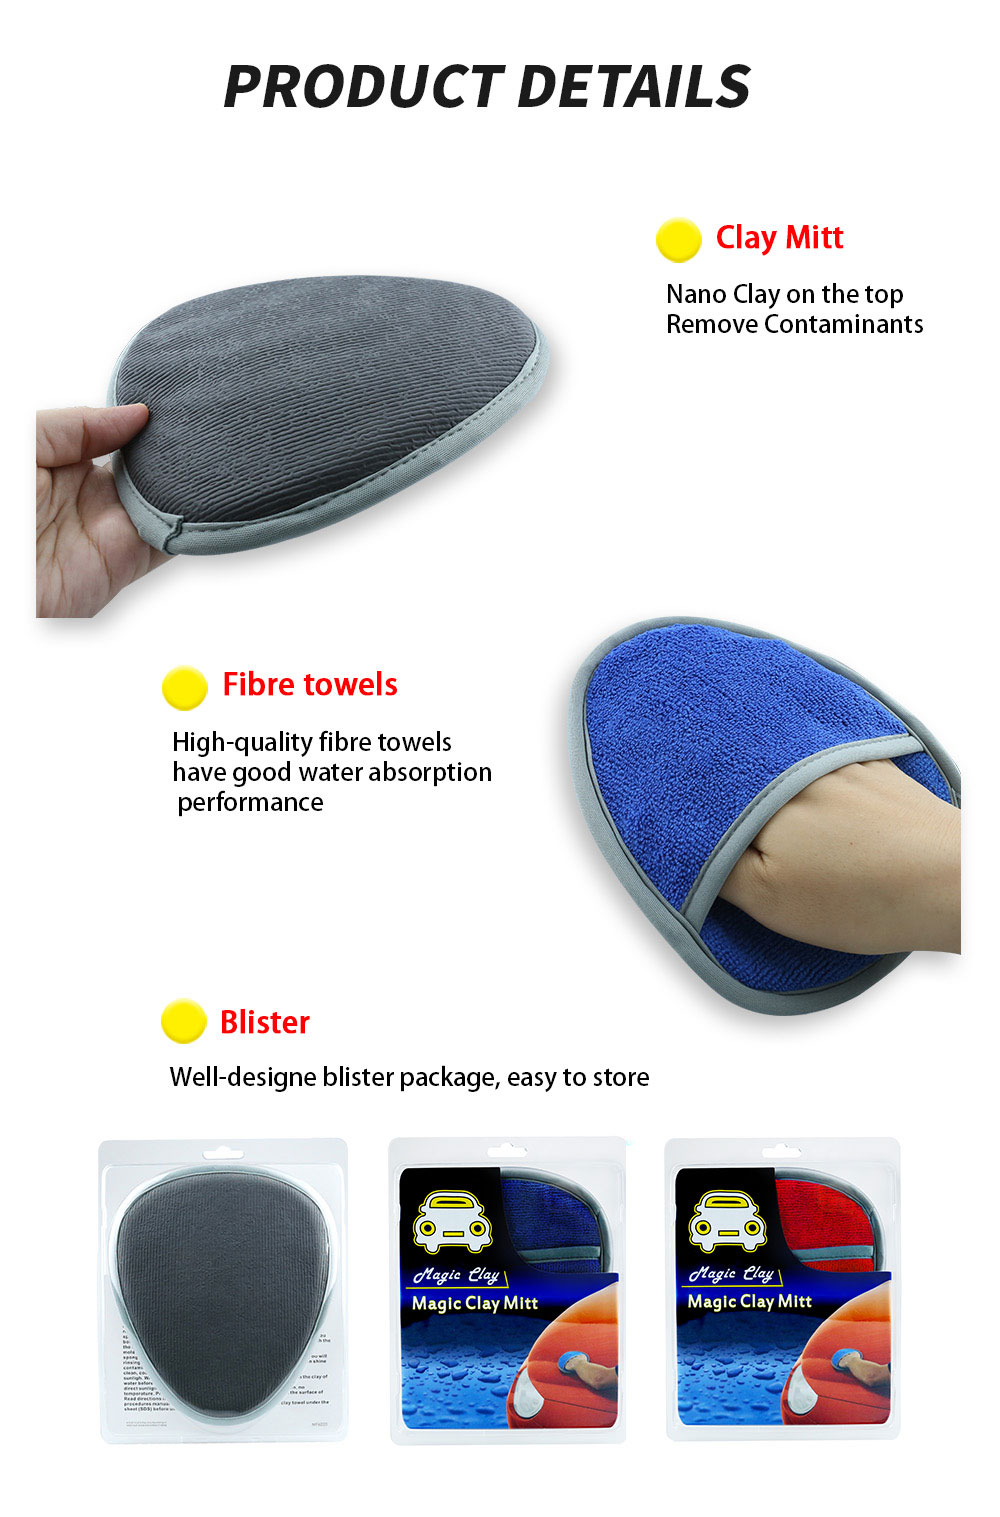
4.1 Clay Bar Treatment
- Even after washing, the car’s paint may still have bonded contaminants (tar, tree sap, industrial fallout).
- Use a clay bar with a lubricant spray to gently remove these contaminants from the paint surface.
Note: This step is essential for achieving a smooth, clean surface that maximizes the effectiveness of subsequent treatments like polishing and waxing.
Step 5: Polishing the Car
5.1 Why Polishing Matters
- Polishing is not just for shine—it helps remove minor imperfections, swirl marks, and light scratches.
- The process also enhances the reflective quality of the paint.
5.2 Choosing the Right Polish
- Select a product based on the condition of the paint. For minor imperfections, a light polish is sufficient; for deeper scratches, a more aggressive polish may be needed.
- Use an orbital polisher for a more even, professional finish, or a hand applicator for less severe corrections.

Step 6: Waxing for Protection and Shine
6.1 The Benefits of Wax
- Wax acts as a protective layer against contaminants, water, and UV rays.
- It enhances the depth of color and gives the car that coveted glossy shine.
6.2 How to Apply Wax
- Apply the wax in circular motions with an applicator pad, and work in small sections.
- Allow the wax to haze before buffing off with a microfiber towel for a smooth, shiny finish.
Step 7: Applying a Ceramic Coating (Optional)
7.1 What is a Ceramic Coating?
- A ceramic coating is a liquid polymer applied to the vehicle’s exterior to provide long-lasting protection.
- It creates a hydrophobic surface that repels water, dirt, and other contaminants.
7.2 The Application Process
- Clean and prepare the surface by removing any previous wax or sealant.
- Apply the ceramic coating using an applicator pad, ensuring an even layer.
- Allow it to cure as per the manufacturer’s instructions.
Tip: For best results, apply in a controlled environment to avoid contamination during the curing process.
Step 8: Final Touches and Inspection
8.1 Tire Shine
- Use a dedicated tire shine product to restore the black, glossy look to your tires.
- Apply with a sponge or applicator, making sure not to get it on the car’s paint.
8.2 Glass Cleaning
- Clean your windows inside and out with a specialized glass cleaner.
- Use a microfiber cloth to avoid streaks.
8.3 Inspect for Imperfections
- After all treatments, walk around your car to inspect for any missed spots, water spots, or residues.
Conclusion
- Recap of the steps to achieve a shiny car: washing, drying, polishing, waxing, and optional ceramic coating.
- Emphasize the importance of regular car care for long-lasting results.
- Reminder to choose the right products for your specific needs.
Related Questions & Answers
1.What is the best way to prevent swirl marks on my car’s paint?
Always wash and dry with proper techniques. Use microfiber towels, avoid automatic car washes, and polish periodically to remove existing swirl marks.
2.How long does a wax last on a car?
Wax typically lasts anywhere from 2 to 3 months, depending on environmental conditions and the quality of the product used.
3.Can I apply a ceramic coating myself?
Yes, but make sure to follow the manufacturer’s instructions carefully. The application process requires a clean, controlled environment to ensure a flawless result.
4.Is a car polish the same as a wax?
No, polish is used to correct imperfections in the paint and refine its surface, while wax provides a protective layer and enhances shine.
5.What should I do if I notice water spots on my car after washing?
Use a water spot remover or a diluted vinegar solution to break down the minerals, and dry the car immediately after washing to avoid future spots.


