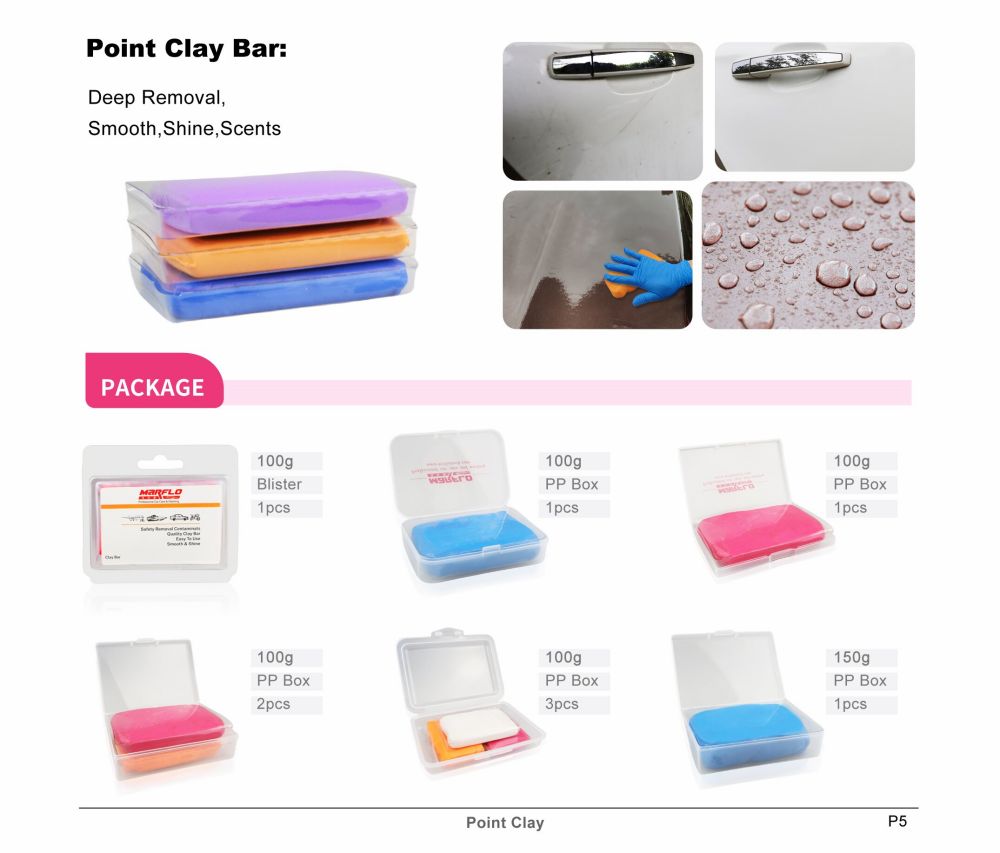
Clay-barring your vehicle is a great way to remove embedded contaminants like brake dust, tree sap, or industrial fallout that washing alone can't remove. It’s a relatively easy process, but you need to follow it carefully to avoid damaging your car's paint. Here’s a step-by-step guide to properly clay-bar your vehicle:
Tools and Materials Needed:
- Clay bar kit (includes detailing clay and lubricant, usually spray)
- Car wash soap
- Two buckets (one for soap, one for rinse)
- Microfiber towels
- Wax or sealant (optional for protection after claying)
Step-by-Step Process:
1. Wash and Dry Your Vehicle
- Wash thoroughly: Before using a clay bar, clean your car using the two-bucket method to prevent scratching. Make sure you remove as much dirt and grime as possible.
- Dry completely: Dry the car using a microfiber towel. The car needs to be clean and dry before using the clay bar.
2. Prepare the Clay Bar
- Shape the clay: Take a portion of the clay bar (usually about 1/3 of the whole bar), and knead it into a flat, palm-sized piece. This ensures it’s easier to hold and covers a reasonable surface area.
- Warm it up: If the clay feels hard, warm it up in your hands by kneading it until it's soft and pliable.
3. Lubricate the Surface
- Spray lubricant: Apply a liberal amount of clay lubricant (included in the clay bar kit) to a small section of the car, about 2’ x 2’. Never use a clay bar on a dry surface, as this can scratch the paint.
4. Clay the Surface
- Glide the clay: Gently rub the clay back and forth across the lubricated section using light pressure. The clay should glide smoothly; if it sticks or feels gritty, add more lubricant.
- Check the surface: After a few passes, feel the area with your hand. It should feel smooth. If it's still rough, continue claying until smooth.
- Knead the clay: Regularly knead and fold the clay to expose a clean surface as it picks up contaminants. Discard the clay if it becomes too dirty or gritty.
5. Wipe the Area
- Wipe clean: After claying a section, use a clean microfiber towel to wipe off any residue from the clay lubricant.
- Inspect: Double-check for smoothness with your hand, ensuring no rough spots remain.
6. Repeat
- Section by section: Move to the next section of the car, repeating the process until the entire vehicle has been clayed.
7. Finish with Wax or Sealant (Optional but Recommended)
- Apply protection: Once you’ve clayed the entire car, the paint is ready to be waxed or sealed. Applying a wax or paint sealant will protect the now contaminant-free surface and give it a smooth, glossy finish.
Tips:
- Use enough lubricant: Always keep the surface well-lubricated while claying to avoid scratches.
- Test on glass: If you're unsure about how much pressure to use, practice on the windshield first. It won't scratch as easily as paint, but the process is the same.
- Check your clay often: If the clay bar drops on the ground, discard it. Debris from the ground can cause scratches on your paint.
When to Clay Bar:
You should clay your car if:
- The paint feels rough to the touch after washing.
- You notice small contaminants like tree sap, tar, or industrial fallout.
- It's been a while since your last deep clean, or before applying a fresh coat of wax or sealant.
Doing this properly will keep your car’s paint smooth, free of contaminants, and ready for further detailing like polishing or waxing.


